This article shows how to create a new Data Location. A Data Location is the physical instance of your model and will contain all data you want to store in your Data Model. You need to set up different Data Location for different usages/project phases: Design, Initial Data Load Tests, Integration Tests, UAT and Validation, Pre-Production, and Production.
Create a new Data Location
- Connect to the Application Builder using your user name and password or your single sign-on profile.
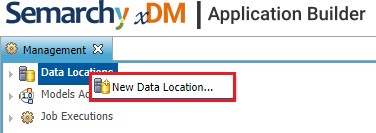
- In the Application Builder home page, select Management

- In Management panel (left), right click on Data Location, and select New Data Location ...
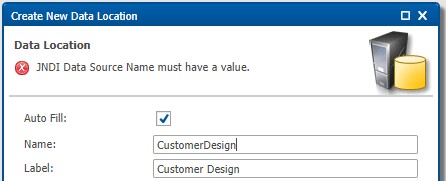
- When prompted enter a Name and Label
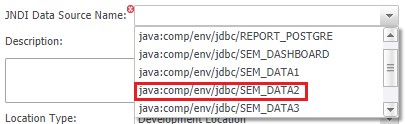
- Choose the JNDI Data Source Name (target database environment to deploy the new Data Location). Please refer to Installation Documentation for JNDI Data Sources management.
- Select the Location Type (Development or Production) depending on Data Location usage.
Best practice :
|

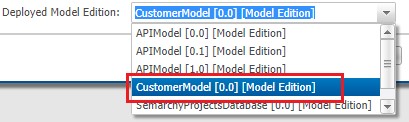
- Select the Model Edition to deploy on Data Location. The same Model Edition can be deployed on several Data Location.
Warning: Once a Data Location is deployed, you cannot change the Root Model of Data Location! You can only deploy new editions of the root model. If you want to deploy a new root model on an existing Data Location, you have to delete the Data Location (with option Drop the content of the database schema) and recreate a new Data Location using the same JNDI Data Source. |
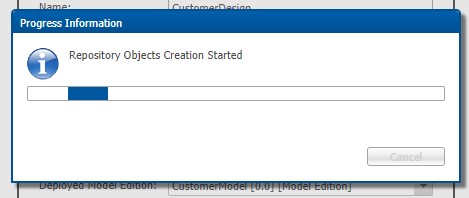
- Click on Finish and wait the end of Data Location creation
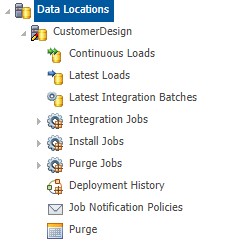
- Once the creation is finished, you can deploy the new Data Location in treeview