This article helps developers and business users who use enrichers that may return result codes, such as the Melissa Data enrichers. It provides guidance on how to use List of Values (LOVs) to make result codes easier to view and user-friendly for business users in the front-end application.
Background
While it's frustrating to provide an input to an enricher and see NULL outputs returned, there are ways to troubleshoot what went wrong so you can easily fix the problem. The Melissa Data enrichers (Personator and Global Address Verification) return the plug-in output Results. The results provide additional information to guide you in your troubleshooting effort.
When you look closely, you may notice there are result codes that indicate what went wrong in your enrichment process, such as "AE02" and "GE01".
Unfortunately, these codes are not helpful unless you've memorized the descriptions that correspond to the codes. You can check the Melissa documentation for what the code translates to (Personator result codes and Global Address Verification result codes). But this isn't efficient.
We have a better way that uses List of Values (LOVs) to capture all the error codes and corresponding descriptions for easy troubleshooting.
Even if the enrichment process completed successfully, it's still useful to implement the LOV to quickly check the result codes. In addition to errors, the result codes tell you all kinds of useful information, including what level of accuracy the enriched values are (e.g. "Geocoded to State Level" versus "Geocoded to Rooftop Level").
The Desired Result
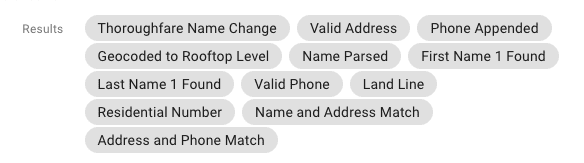
Here's an example of the LOV working so that the business user can see the description of the result codes instead of seeing the raw codes AC16, AE10, AV13, GS01.

How to Set Up the LOV in the Data Model
In this section, you will learn how to set up the LOV and use it in your attribute so you can display the result descriptions and not just the result codes.
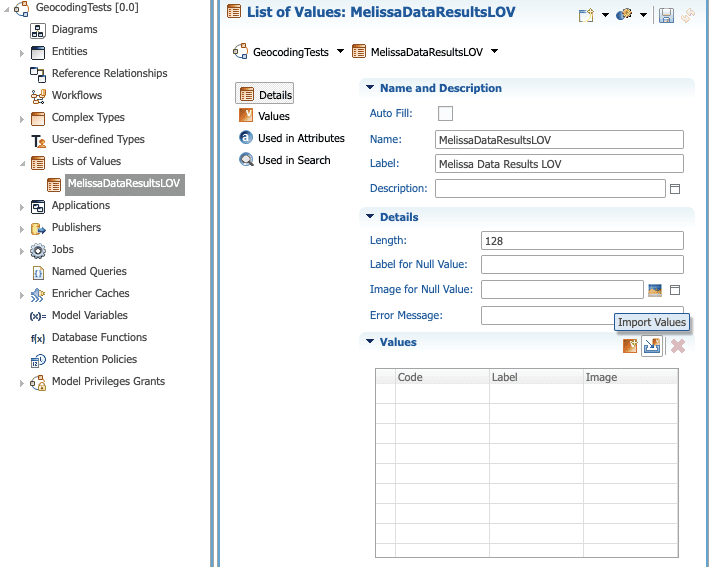
- Add an LOV to your data model. I called my LOV object, MelissaDataResultsLOV. (See Figure 1.)
- Import the spreadsheet downloadable with this link. This has the complete list of all result codes, up-to-date as of October 2020. (See Figure 1.)
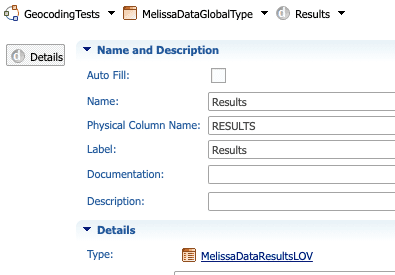
- Configure the Results attribute in your entity to use this LOV. (See Figure 2.)
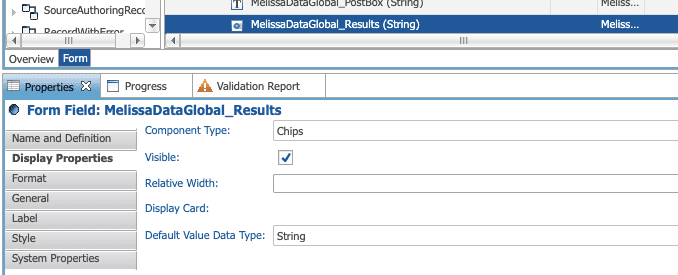
- In your Form View, set up the Results attribute to use Chips (under Properties > Display Properties). (See Figure 3.)
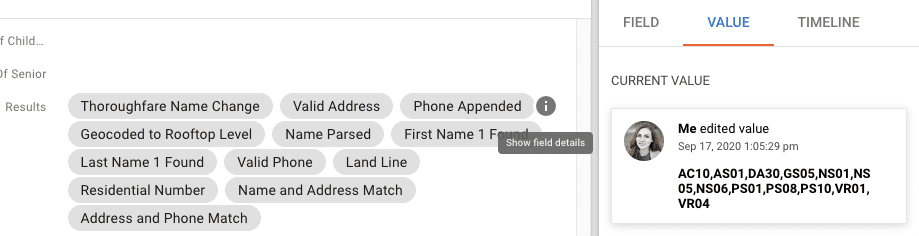
Now your front-end UI should show the result descriptions instead of the result codes (see screenshot below).
If you want to view the original result codes, you can click on the Show Field Detail icon or the helper icon and go to the VALUE tab in the Field Details panel. It will bring up the raw source values.
NOTE: If you have reason to believe that the spreadsheet of result codes is outdated, please leave a comment or contact support to ask whether there is an update.