Semarchy xDM uses an Entity-Relationship approach to help you create the logical data model for your application. You do not design physical objects such as tables in a data model but instead, design logical business entities independently from their implementation. This article shows how to create a model and a diagram using Semarchy xDM.
| Note: The steps below assume that you are able to connect to Semarchy xDM and that you have the Application Design platform privilege. |
Create a new model
- Connect to the Application Builder using your user name and password or your Single Sign-On (SSO) profile.
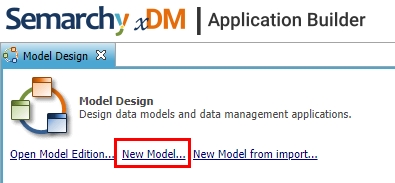
- On the Application Builder home page, select New Model...
- When prompted enter a Name, Label, and Description for your model and click Finish.
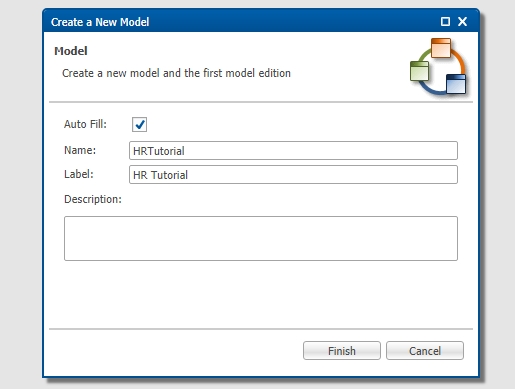
| Note: When entering a name in "CamelCase", the application automatically derives a label from it. Read more on Naming Conventions. |
Add a diagram to your model
To start designing your entities, attributes and relationships, one convenient way is to add a diagram to your model.
| Note: You can add as many diagrams as areas of your data model you need to focus on (for example, Customer Data Diagram, Reference Data Diagram, etc.). Entities can appear more than once in each diagram to facilitate the understanding of your Entity-Relationship data model. |
- In the Model Design tree view, right-click on the Diagrams node and select Add Diagram.
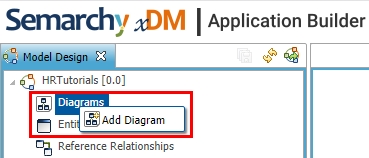
- When prompted enter a Name, Label, and Description for your diagram and click Finish.
Your model is now created and includes one diagram in which you can start creating entities, attributes, and relations.
Opening the model
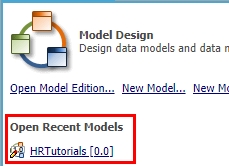
In the future, if you want to access your model again you will find it in the Application Builder home page under Open Recent Models or using the Open Model Edition link.
| Note: If you want to know more about how to build an entire application with Semarchy xDM, we recommend you to follow the Data Authoring and Data Consolidation tutorials on our Tutorials page. |