This article covers the basics of configuring the Semarchy platform to use the LDAP protocol with Microsoft Active Directory. There are numerous implementation options available, the scope of this article is limited to demonstrating a basic setup with minimal steps.
1. Add the following lines to your semarchy.xml file, overwriting existing lines beginning with <Valve through </Realm>. Replace values in the server, connectionName, connectionPassword, userBase, userSearch, roleBase, and roleSearch fields with your own values. Save and close.
<Valve className="org.apache.catalina.authenticator.FormAuthenticator" landingPage="/" characterEncoding="ISO-8859-1"/>
<Realm className="com.semarchy.tool.jee.tomcat.RoleMappingRealm"> regexEnabled="true">
<Realm className="com.semarchy.tool.jee.tomcat.JNDIRealm"
connectionURL="ldap://SupredaveDC.Supredave.com:389"
connectionName="CN=Semarchy1,OU=SemarchyAD,DC=SUPREDAVE,DC=COM"
connectionPassword="Password1"
connectionTimeout="30000"
authentication="simple"
adCompat="true"
referrals="ignore"
userBase="DC=SUPREDAVE,DC=COM"
userSearch="(samAccountName={0})"
userSubtree="true"
roleBase="ou=SemarchyAD,DC=SUPREDAVE,DC=COM"
roleSearch="(member={0})"
roleName="cn"
roleSubtree="true">
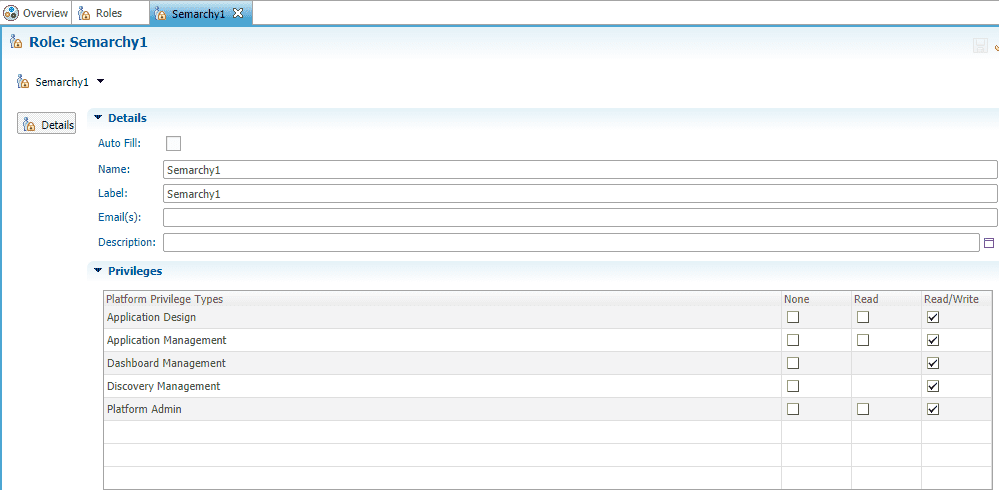
</Realm>2. Logged in as an admin, create a new role in the Semarchy application that matches the Windows user specified in the realm configuration. Grant role admin permissions.
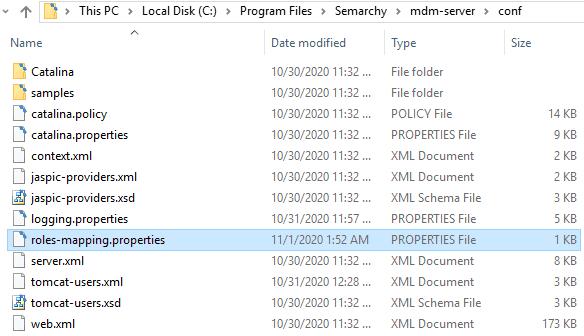
3. In Tomcat conf, create a file with the name roles-mapping.properties. Editing the file using a text editor, insert (.*)=semarchyConnect,semarchyAdmin into the top line of the file.
4. Copy com.semarchy.tool.jee.tomcat-XX.jar from bin to lib directory.

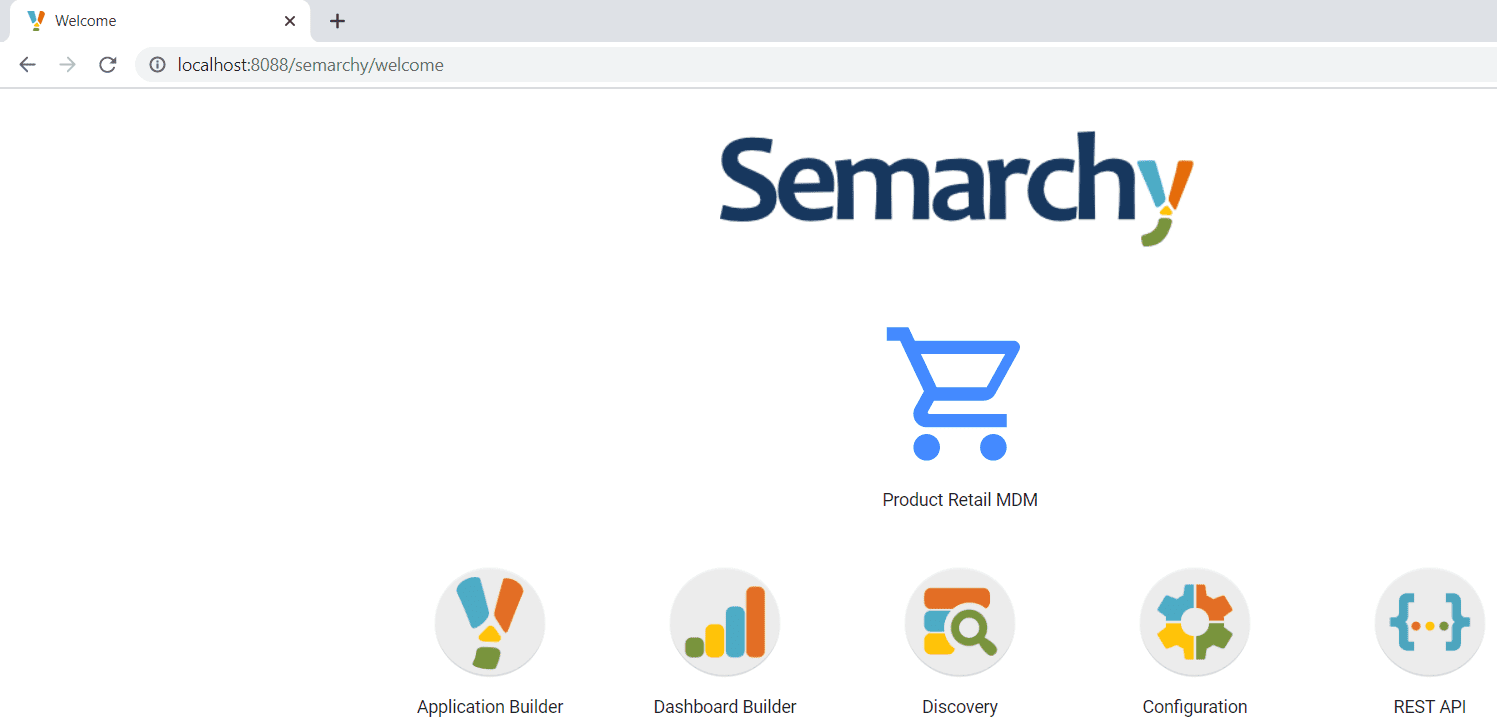
5. Restart Tomcat, then log in using Windows account.
Notes:
In some Active Directory Configurations, both a top-level OU and Security Group are needed. Users should be configured as members of the Security Group.
When userSubtree="true" your configuration simply requires an Active Directory security group, then an assignment of users to this security group.
When additional logging is enabled, these details will be visible in the localhost.YYYY-MM-DD.log file
